The world of Android app development offers an exciting opportunity to create applications that can reach billions of users worldwide. Whether you’re looking to build a new career, develop a side project, or simply explore a creative outlet, Android development provides a pathway with relatively low barriers to entry. This guide will introduce beginners to the fundamentals of Android app development, outlining the essential concepts, tools, and resources you’ll need to start your journey from complete novice to app creator.
Why Choose Android Development?
Before diving into the technical aspects, it’s worth understanding why Android development might be the right path for you:
Market Opportunity
Android enjoys a dominant global market position:
- Over 70% global smartphone market share
- More than 3 billion active Android devices worldwide
- 2.5+ million apps on Google Play Store
- Diverse device categories including phones, tablets, watches, TVs, and cars
Accessibility for Beginners
Several factors make Android development particularly approachable:
- Free development tools
- Extensive documentation and learning resources
- Large, supportive community
- Multiple programming language options
- Lower barriers to publishing compared to some platforms
Career Potential
Android development skills are in high demand:
- Consistent job market demand for Android developers
- Opportunities ranging from freelance to enterprise positions
- Transferable skills that apply across mobile platforms
- Foundation for exploring broader software development
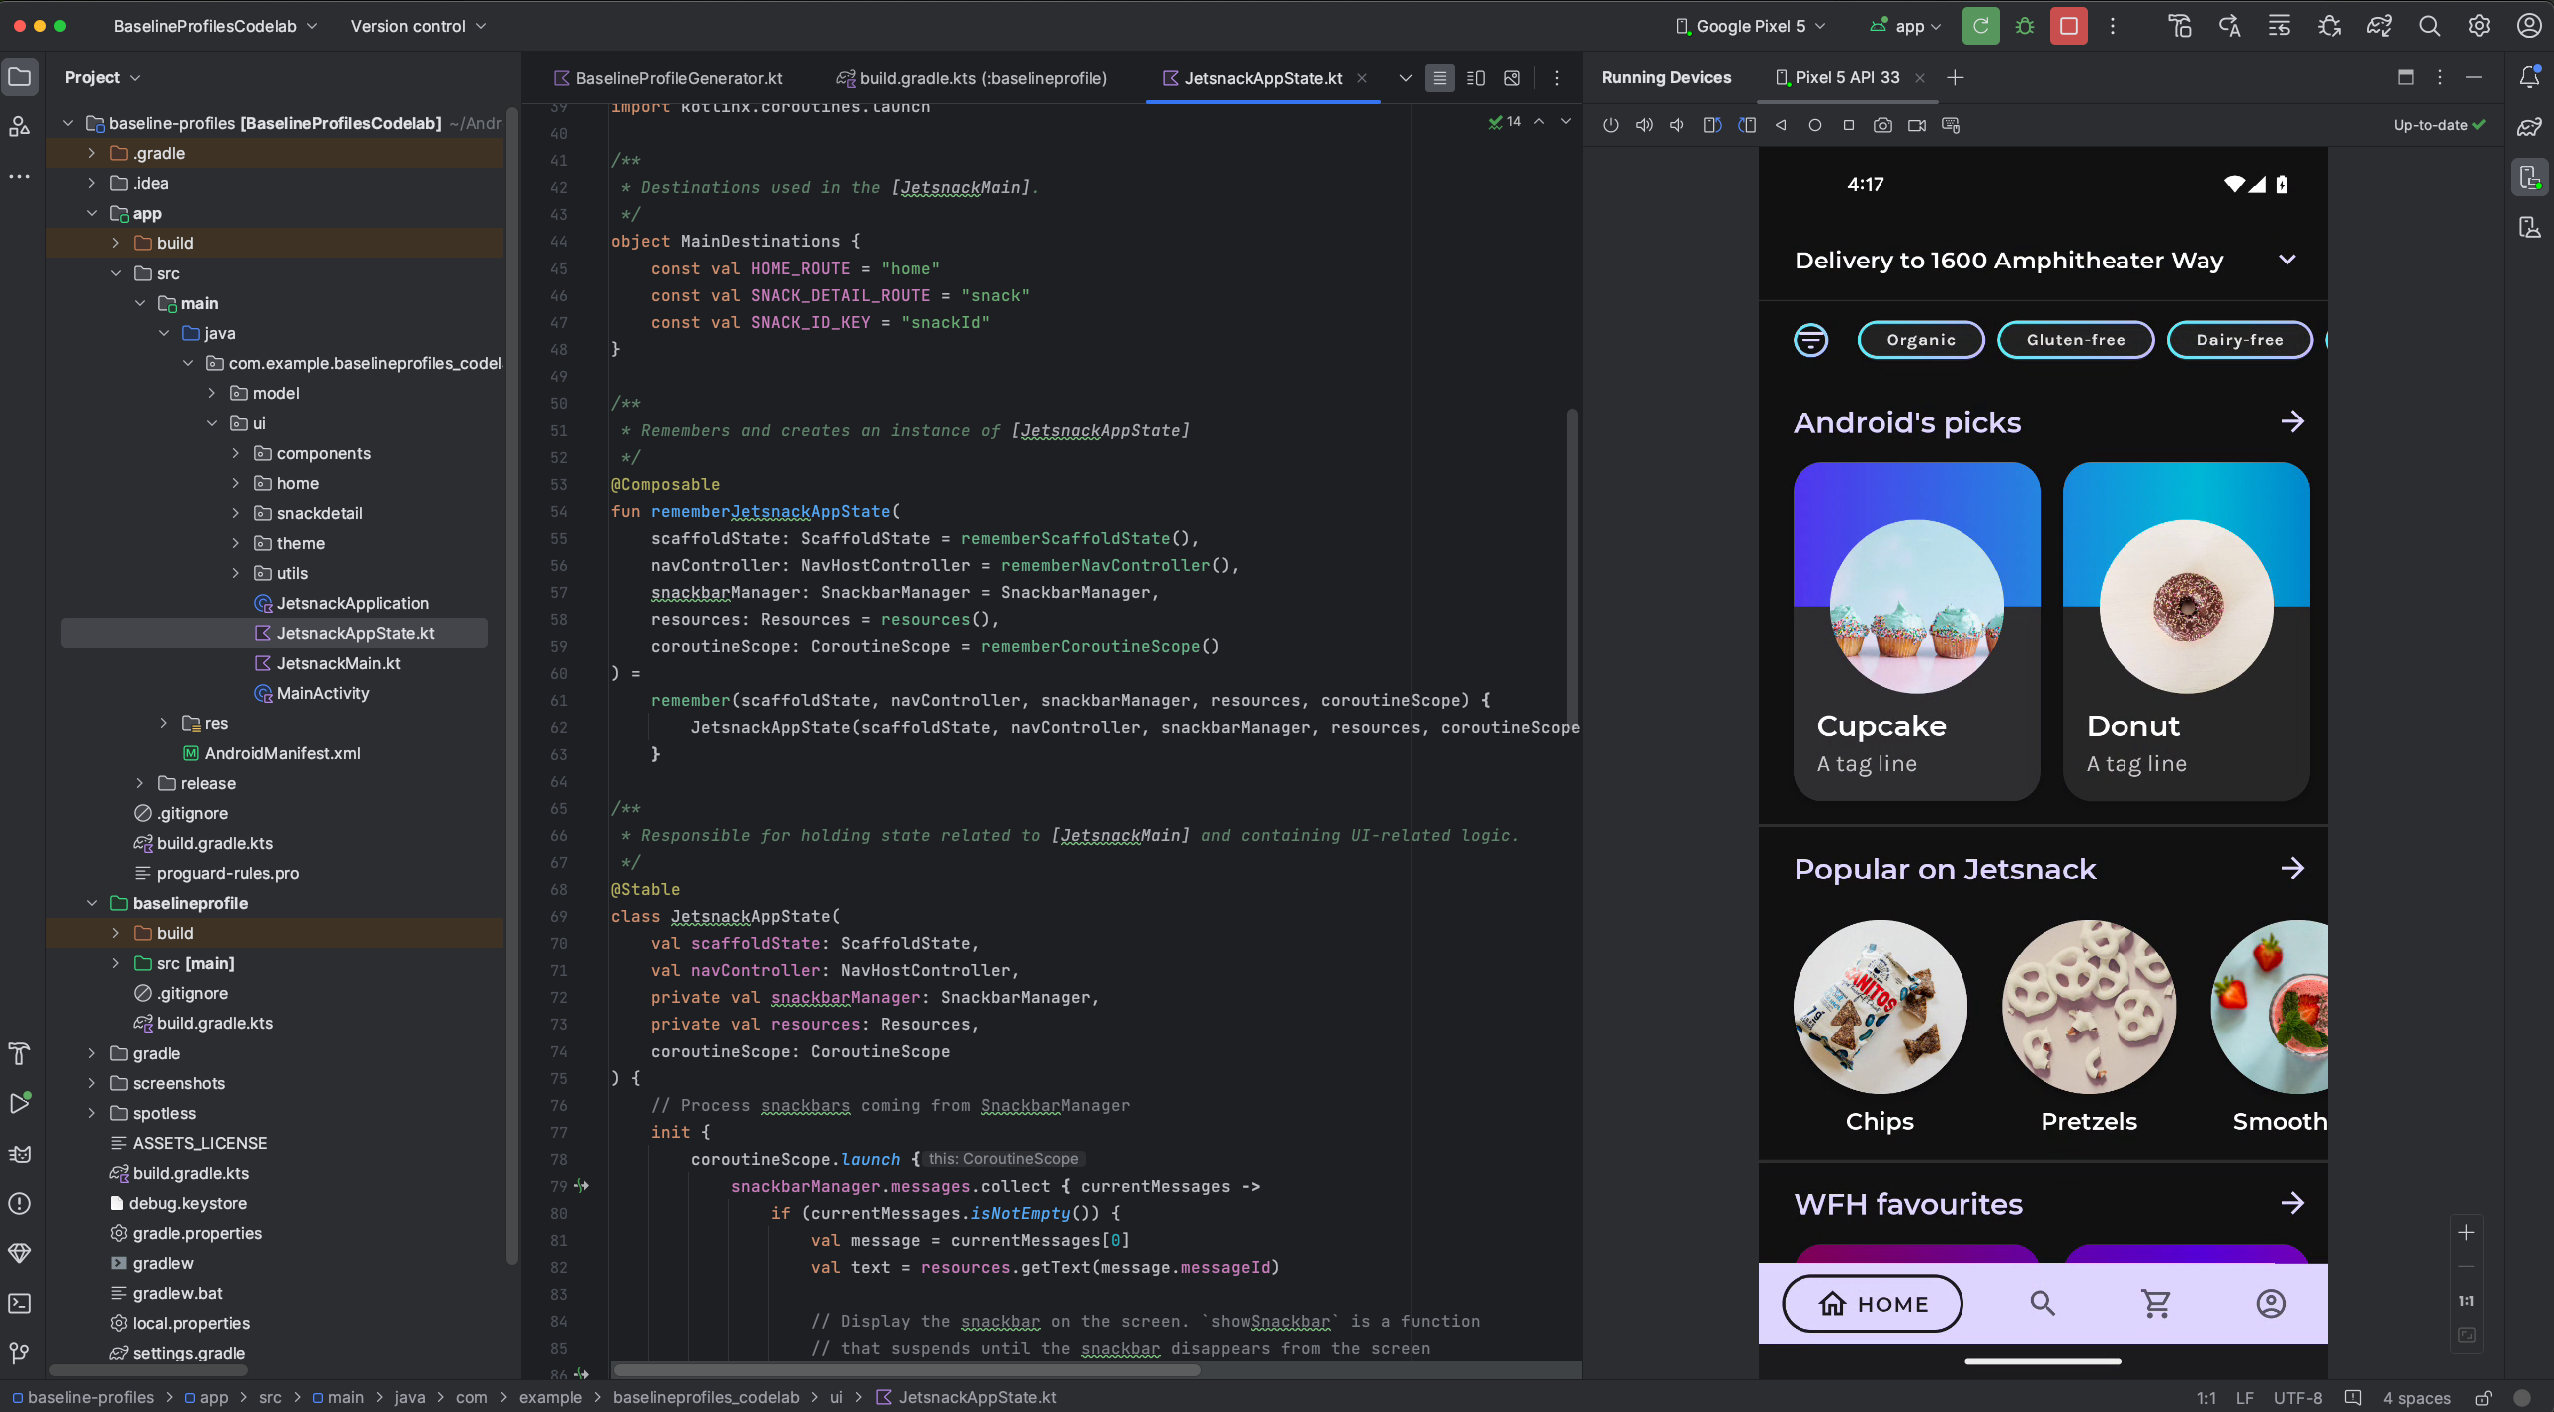
Setting Up Your Android Development Environment
The first practical step in your Android development journey is configuring your workspace with the necessary tools.
Essential Development Tools
Your primary development environment consists of:
- Android Studio: The official integrated development environment (IDE) for Android development
- Java Development Kit (JDK): Required for Java-based Android development
- Android SDK: Software development kit containing libraries, debugger, and emulator
- Git: Version control system for tracking code changes
Installing Android Studio
Android Studio bundles most of what you’ll need in a single installation:
- Download Android Studio from the official Android developer website
- Follow the installation wizard instructions for your operating system
- Complete the initial setup, which downloads additional components
- Verify installation by creating and running a sample project
Configuring Your First Project
After installation, create your first Android project:
- Launch Android Studio and select “Start a new Android Studio project”
- Choose a template (Empty Activity is recommended for beginners)
- Configure your project with:
- A meaningful application name
- Company domain (used to create the package name)
- Project location on your computer
- Language selection (Java or Kotlin)
- Select minimum API level (determines which Android versions will support your app)
- Click Finish to create the project
Understanding Android Development Fundamentals
Before writing your first line of code, familiarize yourself with these core concepts that underpin Android app development.
Android Architecture Basics
Android applications are built upon several key components:
- Activities: Single, focused screens within an app
- Services: Background processes that run without user interface
- Broadcast Receivers: Components that respond to system-wide announcements
- Content Providers: Components that manage shared app data
- Intents: Messaging objects used to request actions from components
Key Files and Directories
Your Android project contains several important elements:
- AndroidManifest.xml: Configuration file declaring app components and permissions
- Java/Kotlin source files: Contains your app’s functionality code
- Resource files: Non-code content like layouts, strings, and images
- Gradle build files: Scripts that control how your app is built and packaged
User Interface Components
Android apps use these elements to create interfaces:
- Views: UI components like buttons, text fields, and images
- Layouts: Containers that determine how views are arranged
- Fragments: Modular sections of an activity’s user interface
- RecyclerView: Efficient container for displaying scrollable lists
- Material Design components: Google’s design system for modern UI
Choosing Your Development Language
Android development supports multiple programming languages, each with its own advantages.
Java vs. Kotlin
The two primary languages for Android development offer different approaches:
Java:
- Traditional Android development language
- Enormous ecosystem and legacy codebase
- Verbose syntax with established patterns
- Extensive learning resources for beginners
Kotlin:
- Modern language officially supported by Google
- More concise syntax with safety features
- 100% interoperable with Java
- Increasingly preferred for new projects
For absolute beginners, either language is viable. Java offers more historical resources, while Kotlin represents the future direction of Android development. Many developers recommend:
- Start with Java if you have no programming experience and want maximum learning resources
- Choose Kotlin if you have some programming background or want to learn current best practices
XML for Layouts
Regardless of your programming language choice, you’ll use XML to define layouts:
<LinearLayout
    android:layout_width="match_parent"
    android:layout_height="wrap_content"
    android:orientation="vertical">

    <TextView
        android:layout_width="wrap_content"
        android:layout_height="wrap_content"
        android:text="Hello World!" />

    <Button
        android:layout_width="wrap_content"
        android:layout_height="wrap_content"
        android:text="Click Me" />
</LinearLayout>
Building Your First App
With your environment set up and basic concepts understood, you’re ready to create a simple app.
A Simple Hello World App
The traditional first program demonstrates basic structure:
- Create a new project with an Empty Activity template
- The main activity layout (activity_main.xml) is automatically created
- Add a TextView with “Hello World!” text
- Run the app on the emulator or physical device
Adding Interactive Elements
Expand beyond static display with user interaction:
- Add a Button to your layout
- Create an EditText for user input
- Implement an OnClickListener for the button
- Display the entered text when the button is clicked
Sample Code (Java)
Button submitButton = findViewById(R.id.submit_button);
final EditText nameInput = findViewById(R.id.name_input);
final TextView greetingText = findViewById(R.id.greeting_text);

submitButton.setOnClickListener(new View.OnClickListener() {
    @Override
    public void onClick(View v) {
        String name = nameInput.getText().toString();
        if (!name.isEmpty()) {
            greetingText.setText("Hello, " + name + "!");
        } else {
            greetingText.setText("Please enter your name");
        }
    }
});
Sample Code (Kotlin)
val submitButton = findViewById<Button>(R.id.submit_button)
val nameInput = findViewById<EditText>(R.id.name_input)
val greetingText = findViewById<TextView>(R.id.greeting_text)

submitButton.setOnClickListener {
    val name = nameInput.text.toString()
    if (name.isNotEmpty()) {
        greetingText.text = "Hello, $name!"
    } else {
        greetingText.text = "Please enter your name"
    }
}
Testing Your Application
A critical part of development is ensuring your app works correctly across devices.
Using the Android Emulator
Android Studio’s emulator lets you test without physical devices:
- Open AVD (Android Virtual Device) Manager in Android Studio
- Create a new virtual device with your desired specifications
- Select system image (Android version)
- Launch the emulator and install your app

Testing on Physical Devices
Real-device testing provides the most accurate experience:
- Enable “Developer options” on your Android device
- Turn on USB debugging
- Connect your device via USB
- Select your device from the run configurations
- Click Run to install and launch your app
Understanding the Debugging Tools
Android Studio offers powerful debugging capabilities:
- Logcat: Console output for viewing system and app logs
- Debugger: Set breakpoints and inspect variables during execution
- Layout Inspector: Visualize and troubleshoot UI components
- Profilers: Monitor CPU, memory, and network usage
Exploring App Components In Depth
As you progress, you’ll want to understand these essential components more fully.
Activities and Their Lifecycle
Activities have a defined lifecycle with several states:
- onCreate(): Called when activity is first created
- onStart(): Called when activity becomes visible
- onResume(): Called when activity starts interacting with user
- onPause(): Called when activity loses focus
- onStop(): Called when activity is no longer visible
- onDestroy(): Called when activity is being removed
Understanding this lifecycle helps manage resources and prevent bugs related to state changes like screen rotations or app switching.
Implementing Multiple Screens
Most apps require navigation between different screens:
- Create additional Activity classes
- Define layouts for each activity
- Use Intents to navigate between activities:
// Java
Intent intent = new Intent(CurrentActivity.this, NextActivity.class);
intent.putExtra("key", valueToPass);
startActivity(intent);
// Kotlin
val intent = Intent(this, NextActivity::class.java)
intent.putExtra("key", valueToPass)
startActivity(intent)Working with Data
Apps typically need to store and retrieve information:
- SharedPreferences: Simple key-value storage for small data
- SQLite Database: Structured storage for larger datasets
- Room Persistence Library: Abstraction layer over SQLite
- Network requests: Fetching data from remote APIs
Learning Pathways and Progression
After mastering the basics, consider these paths for continued growth:
Intermediate Skills to Develop
- Material Design implementation: Creating visually appealing interfaces
- Fragment-based UI: Building flexible, reusable interface components
- RecyclerView mastery: Efficiently displaying lists and grids
- Background processing: Running operations without blocking the UI
- Permissions handling: Requesting and managing user permissions
Advanced Topics
As you gain confidence, explore these more complex areas:
- Architecture patterns: MVVM, MVP, or clean architecture
- Jetpack components: Android’s modern development toolkit
- Dependency injection: Using libraries like Dagger or Hilt
- Unit and UI testing: Writing automated tests for your code
- Publishing to Google Play: Preparing your app for distribution
Resources for Continued Learning
The Android development community offers abundant resources for ongoing education.
Official Documentation
Google provides comprehensive resources:
- Official Android developer documentation
- Android Developers YouTube channel
- Google Codelabs for guided learning
Online Courses and Tutorials
Numerous platforms offer structured Android courses:
- Udacity’s Android courses (including Google partnerships)
- Coursera’s Android specializations
- YouTube tutorials from channels like Coding in Flow
- Ray Wenderlich’s Android tutorials
Community Support
Connect with other developers through:
- Stack Overflow for specific questions
- Reddit communities like r/androiddev
- GitHub to explore open-source Android projects
- Local meetup groups or Android development events
Common Beginner Challenges and Solutions
New Android developers often encounter these obstacles:
Understanding the Gradle System
Gradle build scripts can be confusing initially. Start by learning:
- Basic build.gradle structure
- How to add dependencies
- Common error messages and solutions
Device Compatibility Issues
Android fragmentation means testing across devices is essential:
- Target a reasonable minimum API level
- Use support libraries for backward compatibility
- Test on multiple screen sizes and resolutions
Memory Management
Android apps run in constrained environments:
- Avoid memory leaks, especially with context references
- Release resources (like database connections) when no longer needed
- Use profiling tools to identify memory issues
Career Opportunities in Android Development
For those considering professional paths, Android skills open various doors.
Job Profiles and Roles
Android development skills apply to multiple positions:
- Junior Android Developer
- Mobile App Developer
- Full Stack Developer with mobile focus
- Mobile UX/UI Developer
- Freelance App Developer
Building a Portfolio
Showcase your abilities through:
- Personal projects published to Google Play
- GitHub repositories demonstrating clean code
- Contributions to open source Android projects
- Before/after examples of UI improvements or optimizations
Salary Expectations
While varying by location and experience, Android developers typically enjoy competitive compensation:
- Entry-level: $60,000-$80,000 (US average)
- Mid-level: $80,000-$120,000
- Senior-level: $120,000-$160,000+
- Freelance rates generally range from $30-$150 per hour
Conclusion
Android app development offers an accessible entry point to the world of software development careers with tremendous creative and professional potential. By starting with the fundamentals outlined here, establishing a solid development environment, and building simple applications, you’ll develop the foundation needed for more advanced learning.
Remember that development skills grow through practice and persistence. Each app you build, no matter how simple, teaches valuable lessons that contribute to your expertise. Start small, embrace the learning process, and gradually tackle more complex projects as your confidence grows.
The Android ecosystem continues to evolve, with new tools, libraries, and best practices emerging regularly. Maintaining curiosity and a commitment to ongoing learning will serve you well throughout your development journey. Whether your goal is a career change, a side hustle, or simply the satisfaction of creating your own applications, Android development provides a rewarding path forward.